
Getting Started
Quickstart
Create an account, connect an app, and turn on auto-replies in about 15 minutes
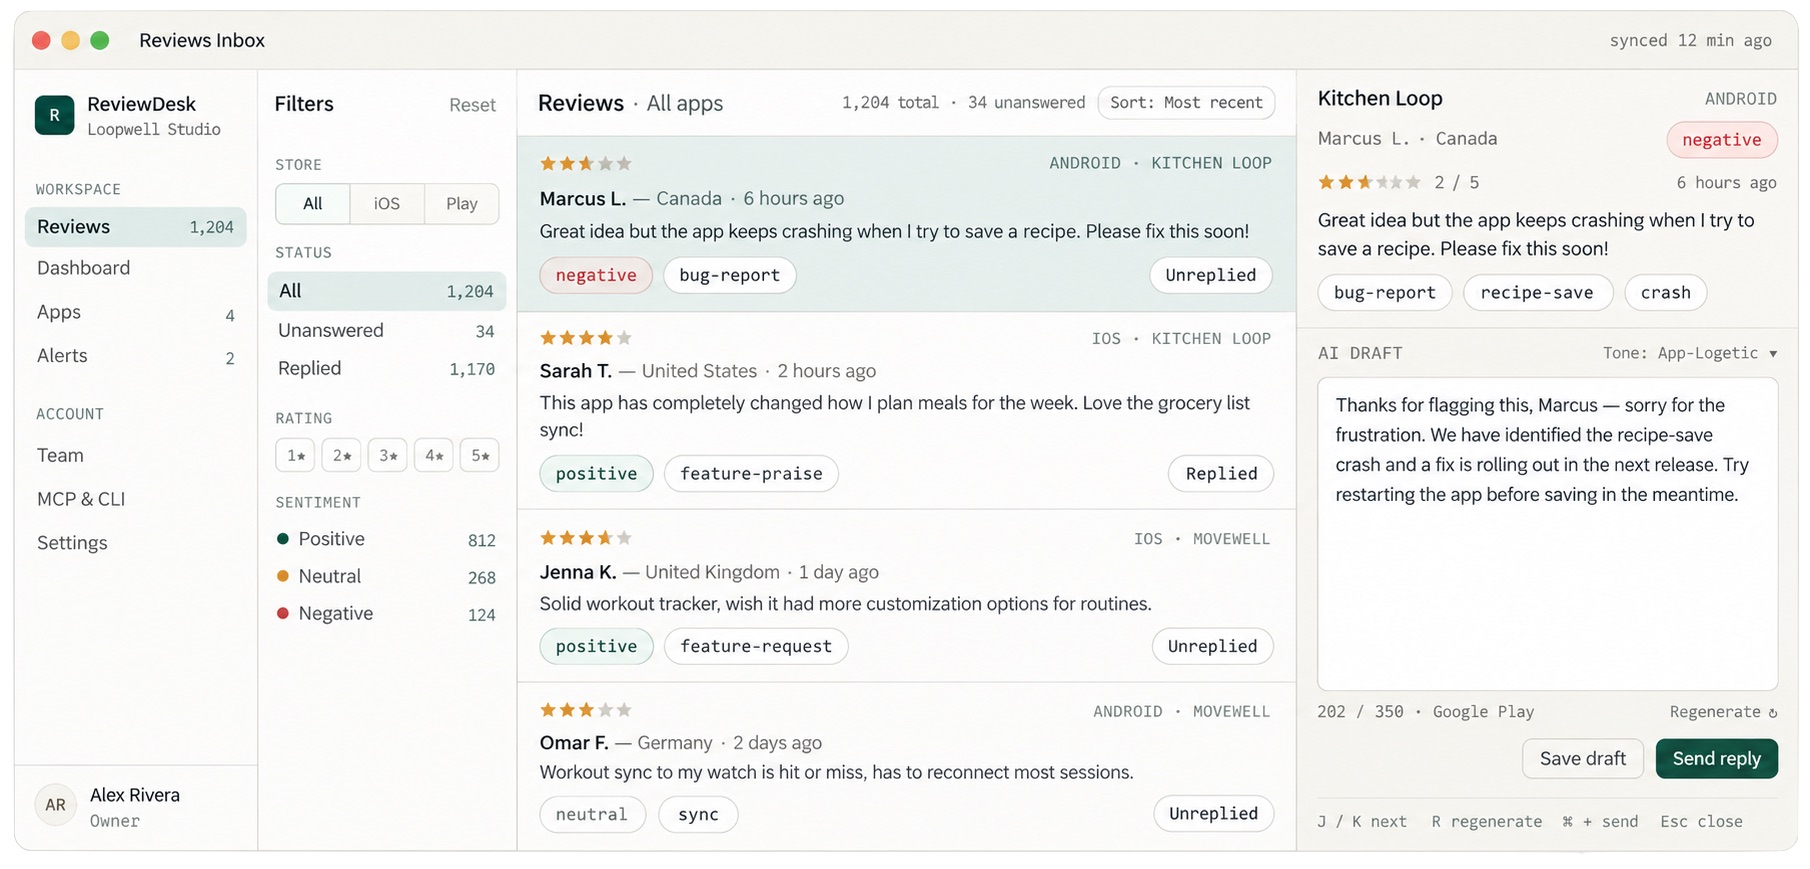
This guide takes about 15 minutes end to end. You'll create an organization, connect your first app to its store, and switch on an auto-reply rule. The screenshot above is where you land once all of it is running.
Create your account
- 01Sign up with your organization name, full name, and work email. You do not pick a password yet.
- 02Enter the 6-digit code emailed to you. It expires after 10 minutes — use Resend code if it lapses.
- 03Set your password. You are signed in immediately and land in the onboarding wizard.
The account you just created is the organization owner. Everyone you invite later joins this same organization, which owns the apps, the automation rules, and the billing contact details.
Work through the onboarding wizard
The wizard has four steps and remembers where you left off, so you can close the tab and come back. Every step can be skipped.
| Step | What it asks for |
|---|---|
| Organization | Name, website, contact number, address. All optional. |
| Connect your apps | The full Apps screen, embedded. Needs at least one app to continue — or use Skip step. |
| Invite your team | Up to 3 teammates during onboarding, each with a reply permission and app access. |
| Review and confirm | A summary. Confirming drops you into the Reviews inbox. |
Connect your first app
On the Apps screen, click Connect app. Give the connection an account name — a label for the App Store Connect team or Play Console organization the app belongs to — then choose a platform and paste your credentials.
Supply the .p8 private key file, the 10-character Key ID, and the Issuer ID. Then click Verify & discover apps — ReviewDesk reads every app in that App Store Connect account and lets you tick the ones to connect in a single batch.
Full walkthrough: Integrating App Store Connect.
Paste the full service account JSON, then add the app by its package name in reverse-DNS form, such as com.example.app. Google Play is set up one app at a time — there is no bulk discovery on this platform.
Full walkthrough: Integrating Google Play.
Wait for reviews to arrive
ReviewDesk checks for new reviews every 30 minutes and refreshes each app at least every 6 hours, so your first batch usually appears within a few minutes of connecting. Each app shows its own last polled time on the Apps screen.
Reviews are classified for sentiment and topic shortly after they land. Until that pass runs, new reviews show as unclassified on the dashboard — see Sentiment and themes.
Set your reply voice
Go to Settings → AI and pick a default tone: Professional, Apologetic, Friendly, Concise, or Enthusiastic. A live sample reply updates as you choose, so you can hear the difference before committing.
Then open Settings → Replies and decide how replies should sign off. You can append a support email line and a signature, and set a different support address per app. See Reply footer.
Turn on auto-replies
- 01Go to Settings → Replies → Auto replies and click Create a rule. The banner at the top of your Reviews inbox links straight here.
- 02Choose a scope: the whole organization, one account, or a single app.
- 03Choose an automation level. Start with Draft only — ReviewDesk writes every reply and you press send.
- 04Choose which reviews the rule covers: all of them, positive only above a rating you set, or a per-rating decision for each star level.
- 05Pick a tone strategy — use your default, override it for this rule, or map a different tone to each star rating.
- 06Review the summary and save.
Let it run for a day or two in Draft only. When the drafts read the way you want, move the rule up to Auto-send some and let it handle your five-star reviews unattended. Safety rails apply at every level — see Safety rails and limits.